
Manage Annotations and Notes
Annotations and notes are each linked to the slide (identified by their page number) for which they were created. If a slide is moved within the slide set, the two no longer fit together. With this view, however, it is easy to move annotations and notes so that subsequent changes to a slide set require little effort.
Note: This view is opened automatically if the total number of slides in a slide set has changed. If it has decreased, you will find notes and annotations for the slides that are no longer available in the Put aside annotations area at the bottom of the window.
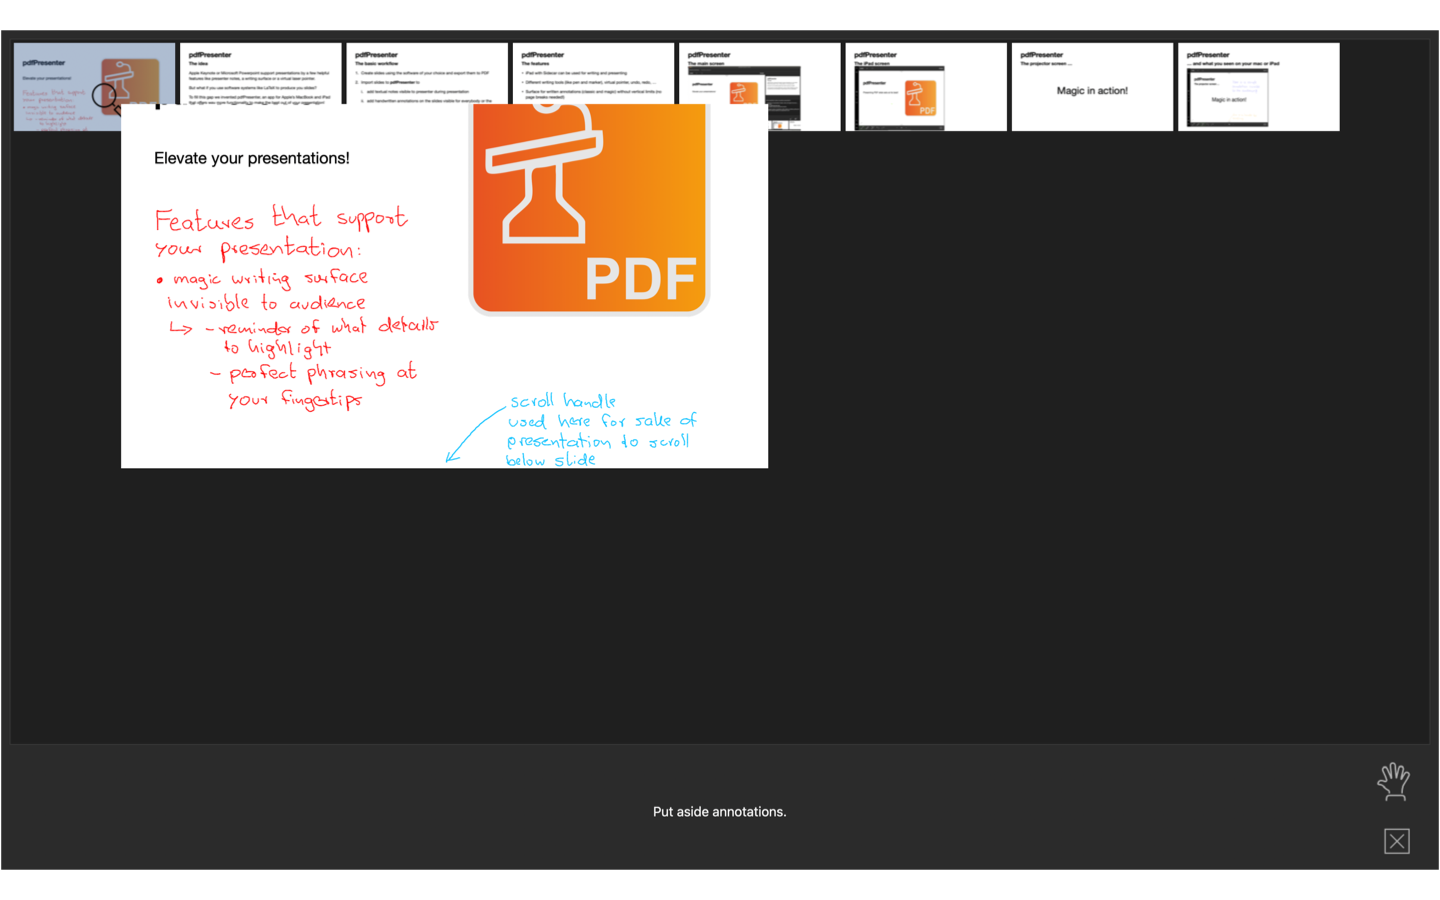
As shown in the image above the view consists of two areas: a grid that provides an overview of the slide set, like described here, and the aforementioned Put aside annotations area at the bottom, which contains annotations and notes that are not currently assigned to a slide. At the bottom right, there are two buttons for selecting the tool (magnifying glass or hand) and for closing the view. If a slide has a note, a blue icon of parallel lines is displayed in the bottom right-hand corner of the preview of the slide; if it has handwritten annotations, a magic wand icon is displayed.
Important: Closing the view does not automatically save the changes you have made. To do this, you must either select File, Save in the menu or execute the corresponding shortcut. Thus, you can simply undo any unintentional changes, whereby the slide set must be closed without saving.
Moving annotations and notes is done with the hand tool using drag-and-drop, the details of operation are explained below. The magnifying glass tool provides an uncomplicated way to take a closer look at the slides and their annotations before reorganizing them.
Take a closer look at slide content
To view the slide contents including handwritten annotations as easily as possible, either use the magnifying glass tool or hold down the option key when using the hand tool. In both cases, clicking and holding on a slide will cause
- a zoom of the slide opens, and
- after a short pause, the writing area is slowly scrolled to its lower edge.
Releasing the mouse button ends the display immediately. If you want to read the note for a slide, you must hold down the control button before clicking on it, regardless of the tool used.
Copying or moving annotations and notes
To do this, use the hand tool and select the slide(s) whose annotations and notes you want to move. Multiple slides are selected by
- clicking on the first slide with the hand tool and
- holding down the Shift key while clicking on a second slide.
This selects the entire range of the slides between the first and second slide you clicked on. Now hold down the selected slide(s) by keeping the mouse button pressed and move your selection to the target location in the slide set. Release the mouse button to start moving.
Note: If the slides themselves have annotations or a note at the target location, these are not deleted but automatically moved to the Annotations set aside area. They can also be reassigned to a slide from there using drag-and-drop.
In addition to moving one or more annotations, it is also possible to copy the annotations and notes of an individual slide. To do this, hold down the command key when selecting the slide (you can tell the difference by the green plus icon in the middle of the hand cursor). Moving now copies the annotations and notes of the selected slide to the target location.